Groq Chatbot Quickstart Guide

Introduction #
Groq is an open-source, cloud-native, and scalable framework for building and deploying AI models. Groq is designed to simplify the process of building, training, and deploying AI models, making it more accessible to developers and data scientists.
In this guide, we will use Groq + Meta's open-source model, Llama-3, to make a chatbot.
Getting started #
To get started building with Groq, fork this template by clicking "Use template".
Set up your Groq API key #
We will be using Meta's Llama 3-70B model for this project. You will need a Groq API Key to proceed. Create an account here to generate one for free.
Once you have generated a key from Groq’s console, open the Secrets pane on Replit and add paste the key in a secret labeled “GROQ_API_KEY.”
Calling the model #
Replit takes care of all of the setup for you, so at this point, you can click "Run." You will see a response in the Replit Console. Congratulations, you have officially used a Groq model.
Explaining the code #
Your project is already complete, but to better understand how the code works, we will give a brief walkthrough.
Importing the packages #
First, you need to import the required libraries for your application.
- os is used for accessing environment variables.
- gradio is a library for building interactive UIs.
- AsyncGroq is presumably a client for interacting with an API, in this case, the GROQ API.
Initialize the AsyncGroq client #
The API key is fetched from environment variables using os.environ.get("GROQ_API_KEY").
Define the chat function #
Define an asynchronous function chat_with_replit to handle the chat messages and interact with the GROQ API.
- message: The new message from the user.
- history: The chat history.
- The function converts the history into a list of message dictionaries.
- It appends the new message to this list.
- The function prints the message list for debugging.
- It initializes response_content to collect the response.
- It sends the message list to the GROQ API and processes the streaming response, appending chunks of content to response_content and yielding it.
- Adds the JavaScript for Replit badge.
Create and Launch the Gradio Interface #
Gradio is a framework that makes adding a chat interface very east. The chat interface will allow us to deploy and share our application.
Create the Gradio interface using gr.Blocks and gr.ChatInterface, and then launch it.
- gr.Blocks is used to create the overall UI layout.
- gr.ChatInterface creates a chat interface with:
- chat_with_replit as the function to handle chat messages.
- Various buttons (clear_btn, undo_btn, retry_btn) set to None.
- fill_height=True to use the available height.
- examples to provide example prompts for the chat interface.
- demo.launch() launches the Gradio app.
Deploy your project #
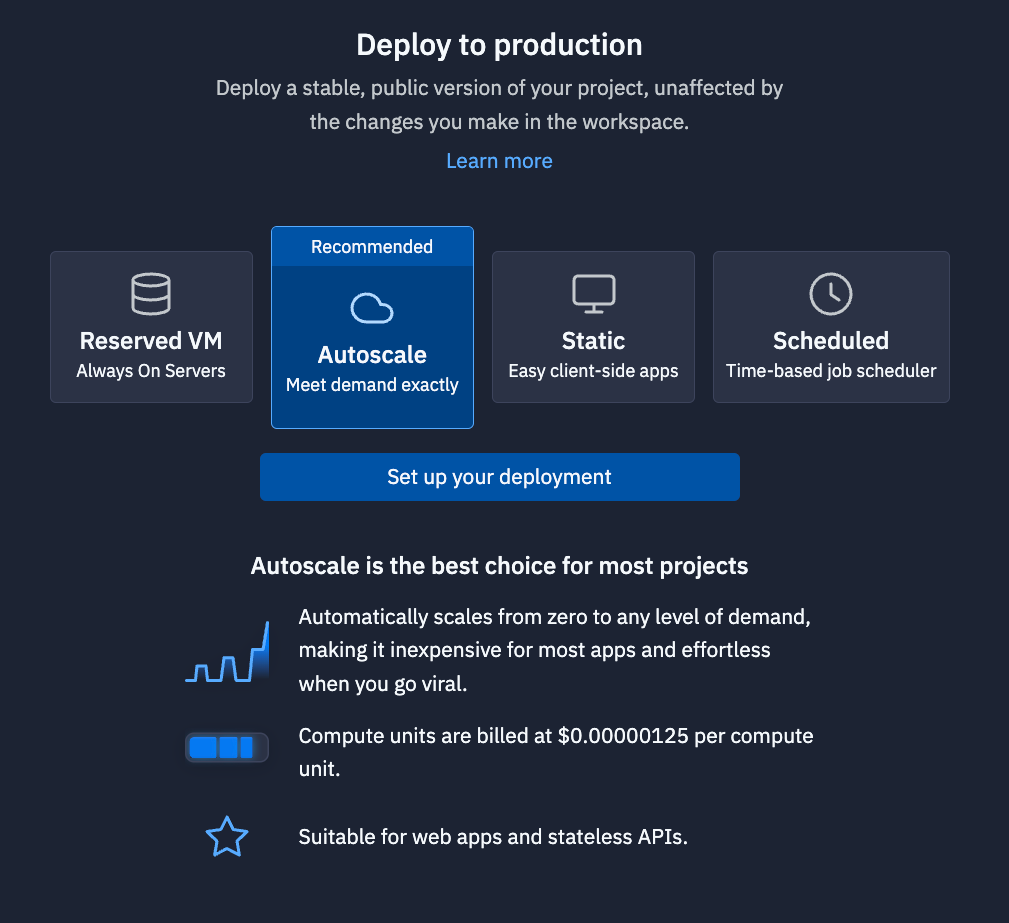
Your Webview uses a replit.dev URL. The development URL is good for rapid iteration, but it will stop working shortly after you close Replit. To hava a permanent URL that you can share, you need to Deploy your project.

Click "Deploy" in the top-right of the Replit Workspace, and you will see the Deployment pane open. For more information on our Deployment types, check our documentation.
Once your application is deployed, you will received a replit.app domain that you can share.
What's next #
Now that you know how to use Groq, check out our multi-part guide on function calling. You will build an e-commerce support assistant. Part I can be found here.
For a list of other guides, check out our guides page.

