Website Q&A RAG Chatbot

Guide overview #
What will you learn in this guide? #
By the end of this guide, you will use a Neon PostgreSQLs database, LangChain, and OpenAI to build an application that will let you chat with a website of your choice.
An application like this could be very useful to create a chatbot that:
- Answers questions on a company’s documentation
- Provides summaries of blogs you like to read
What is Neon? #
Neon is a serverless PostgreSQLs database that is integrated into the Replit platform. By opening the PostgreSQLs pane in the Replit workspace, you can instantly provision a scalable database that is billed directly through your Core plan. In this guide, we will use the Neon database to store the website content in a format that allows us to ask questions about it. For more of the technical details, read about embeddings and a VectorStore.
What is LangChain? #
LangChain is an open-source framework that makes building, productionizing, and deploying applications with Large Language Models (LLMs) easier. We will use LangChain to parse the website, convert the content to embeddings, and query against the database.
What is OpenAI? #
OpenAI is a Large Language Models (LLM) provider that offers a variety of models. In this guide, we will use an OpenAI model to convert the website text to embeddings.
Getting started #
To get started, fork this template by clicking "Use template."
Set up your OpenAI API key #
The first step is to sign up for one OpenAI account. Then proceed to directly the API key page, and create an API Key. Once you have your API Key, go back to your project on Replit.
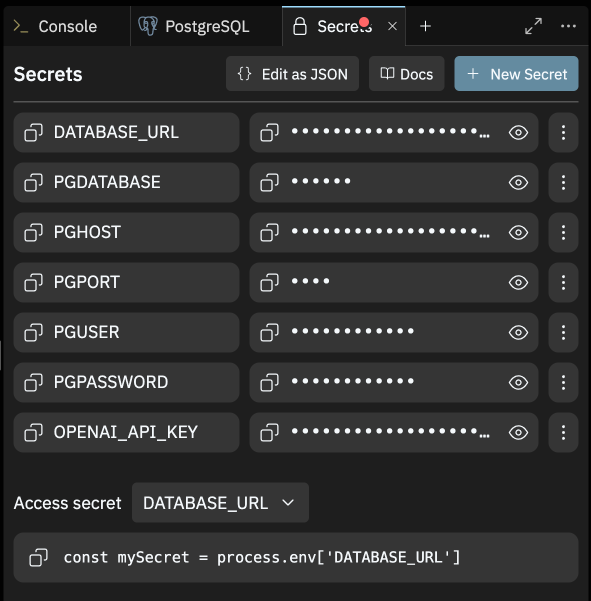
Under "Tools", you will see a tool called "Secrets."
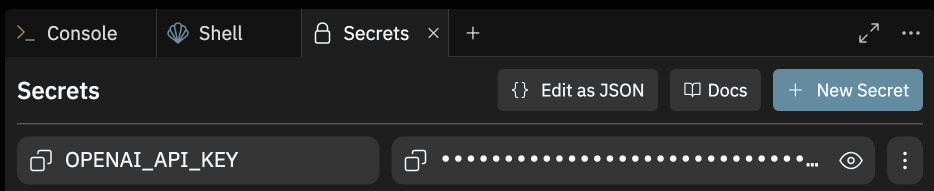
Open the Secrets pane and paste in your API key to the Secret labeled "OPENAI_API_KEY."
Installing the correct packages #
The Replit template comes equipped with the correct packages. You can check them by visiting the Dependencies tool in the Replit tool bar. The packages included should be:
- @neondatabase/serverless: Neon's PostgreSQL driver for JavaScript and TypeScript.
- langchain: A framework for developing applications powered by language models.
- @langchain/community: A collection of third party integrations for plug-n-play with LangChain core.
- @langchain/openai: A LangChain package to interface with the OpenAI series of models.
The development-specific libraries include:
- @types/node: Type definitions for node.
- cheerio: A library for parsing and manipulating HTML and XML.
- xmldom: A pure JavaScript W3C standard-based DOMParser and XMLSerializer module.
Now, let's move on to spinning up a PostgreSQL database in Replit.
Provision a Serverless PostgreSQL (powered by Neon) #
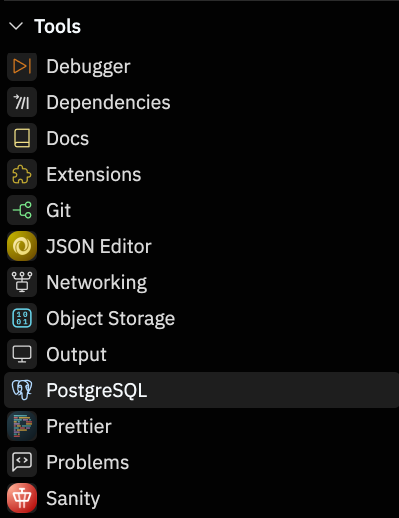
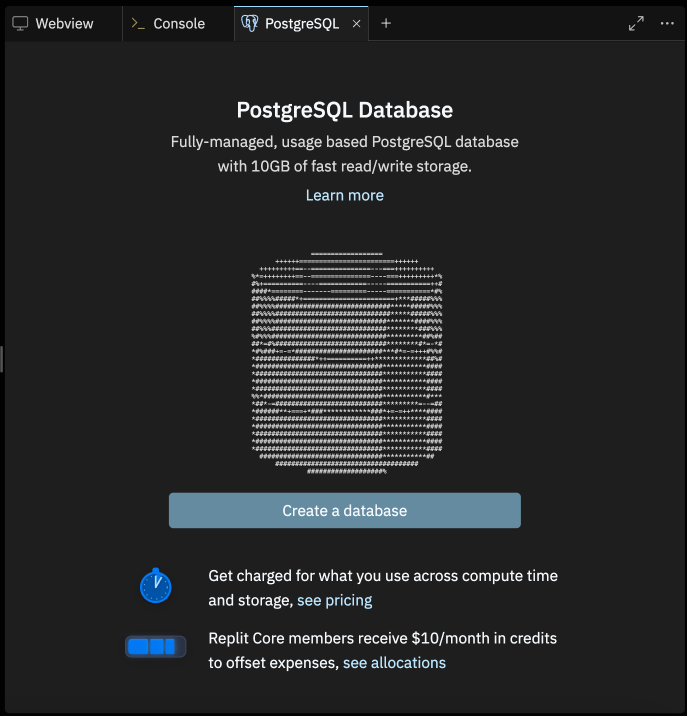
In the tools section in the bottom-left, open the PostgreSQL tool. It will open a new pane.
In the PostgreSQL pane, click create a database. (Note: PostgreSQL is a paid feature, so you will be prompted to add a payment method or sign up for Replit Core).
In the environment variables section, you can view all of the relevant connection information about your database. Once provisioned, Replit will automatically port this information to Secrets for usage. (Note: If you don’t see the PG Secrets filled, you may need to close your Secrets tab and reopen it for variables to be ported over.)
Generating the corpus for your chatbot #
Now that you have all of the tools set up, we can start creating the corpus for your chatbot. The corpus is the giant set of information that you want the chatbot to “know.”
Create OpenAI API embeddings client #
First, we need to prepare to generate embeddings. Embeddings are a corpus of knowledge or context that the model can access. For example, we are going to ask questions on a website or documentation. We need to convert all of the documentation to a format that AI understands: vector embeddings. To do this, we need to send all of the information from the website to an embeddings model that OpenAI has.
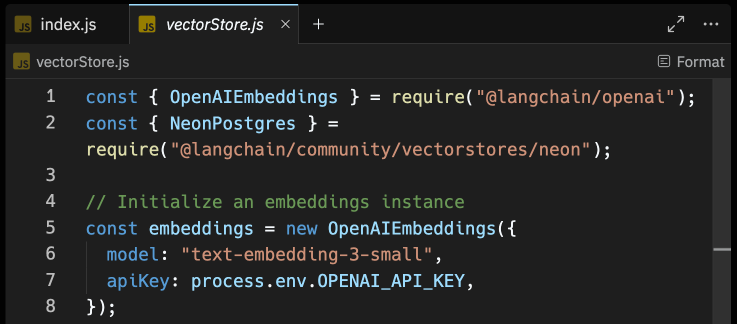
Through the @langchain/openai package, you are able to obtain vector embeddings for text via OpenAI API. The OpenAIEmbeddings class, when integrated with any LangChain Vector Store, simplifies the process of generating and inserting vector embeddings. Create a file named vectorStore.js, and with the following code in it, initialize the OpenAIEmbeddings class to easily generate vector embeddings under the hood.
Your file should look like this:
Now, let's move on to integrating Replit PostgreSQL (with pgvector) as the vector store for the generated vector embeddings.
Create a PostgreSQL Vector Store with pgvector #
Once we generate embeddings from the OpenAI model, we will need a place to store them. That’s where the Neon PostgreSQL database comes in. Using NeonPostgres module, you are able to create a connectionless client that allows you to store, delete, and query vector embeddings from your Replit PostgreSQLs index.
Update your vectorStore.js file to the following:
Now, let's move on to creating a function to generate vector embeddings of contents in a website.
Using sitemap.xml to scrape content on a website #
To locate all the content routes in a website, you are going to rely on the contents of /sitemap.xml route. Using xmldom you can parse the sitemap.xml file, and then fetch contents of each route, and create vector embeddings from its content.
First, let's create a file named train.js with the following code:
The code above does the following:
- Exports a train function that accepts an array of URL to scrape content from.
- Loads the vector store using the loadVectorStore utility.
- Uses CheerioWebBaseLoader to load the webpage corresponding to the element.
- Splits the loaded webpage into chunks of text using RecursiveCharacterTextSplitter.
- Adds the documents containing vector embedding (and metadata) to the Replit PostgreSQLs vector store.
Next, let's create a file named scrape.js with the following code to invoke the train utility to scrape the website:
The code above does the following:
- Fetches the sitemap of the provided URL by appending /sitemap.xml to the URL and fetching its contents.
- Defines a makeURLs function to parse an XML string representing a sitemap and extract URLs from it.
- Finally, it exports the scrapeWebsite handler.
Once complete, let's move on to asking AI what it learned from the website contents.
Set up a method to ask questions #
With all the content scraped and vector embeddings generated from it, your AI chatbot is now ready to answer questions with in-depth knowledge and references to the content on your website. Let's create a function question in a file named ask.js which accepts a string input to reply with an answer to. Use the following code to load all the environment variables into the scope, and use LangChain Retrieval Chain with PostgreSQLs to fetch the relevant vector embeddings to the user query:
This code does the following:
- It loads the Replit PostgreSQLs vector store using the loadVectorStore function.
- It fetches a prompt template named retrieval-qa-chat from the LangChain Hub using the pull utility.
- It initializes a ChatOpenAI instance for conversational AI capabilities.
- It creates a chain for combining documents using a large language model (LLM) and a retrieval prompt (retrievalQAChatPrompt).
- It creates a retrieval chain using the retriever, and the previously created combined documents chain.
Finally, it exports the question handler.
Start asking your chatbot questions #
Configure your chatbot #
Now that all of the pieces are setup, we can test the bot by defining two things:
- The website to index
- The question we want to ask
For this example, we will do one of our team member’s newsletters: jeffburke.substack.com. This website includes ~35 webpages, so it’s not too large.
The newsletter is about startups, so we can start by asking, “What is Replit?”
You can easily run a Repl by clicking the green Run button at the top of it. By default, a Node.js Repl executes the code in an index.js file at the root of your project. Let's create an index.js file with the following code to train the chatbot on Replit Docs, and once done, ask it to lay out the steps for storing secrets in Replit:
The code above does the following:
- It invokes the train function to train the AI chatbot based on the content of the scraped URLs.
- Finally, invokes the question function with the input string How do you store secrets in Replit? relevant to this particular resource on the Replit Docs.
Click Run, and you should see output in the console!
Add a frontend, so you can share #
At this point, you have a fully functioning chatbot based on the website of your choice. If you want to share it with someone, you probably do not want to invite them to the Repl.Instead, we will create a frontend that allows you to just share the URL of the project. To make this simple, we have already created a basic frontend for you.
First, change the index.js file to have the following:
This will create an express server, as well as execute the entire program. The actual visual component, however, requires some HTML, CSS, and JavaScript. Click Run.
Deploy and share! #
This last part is critical. Your webview URL will be a replit.dev URL. These URLs are used for quick iteration, but the website will be taken down ~30 minutes after you log out.
If you would like to share the project, you need to deploy it. To do this, go to the top-right corner, and click “Deploy.”
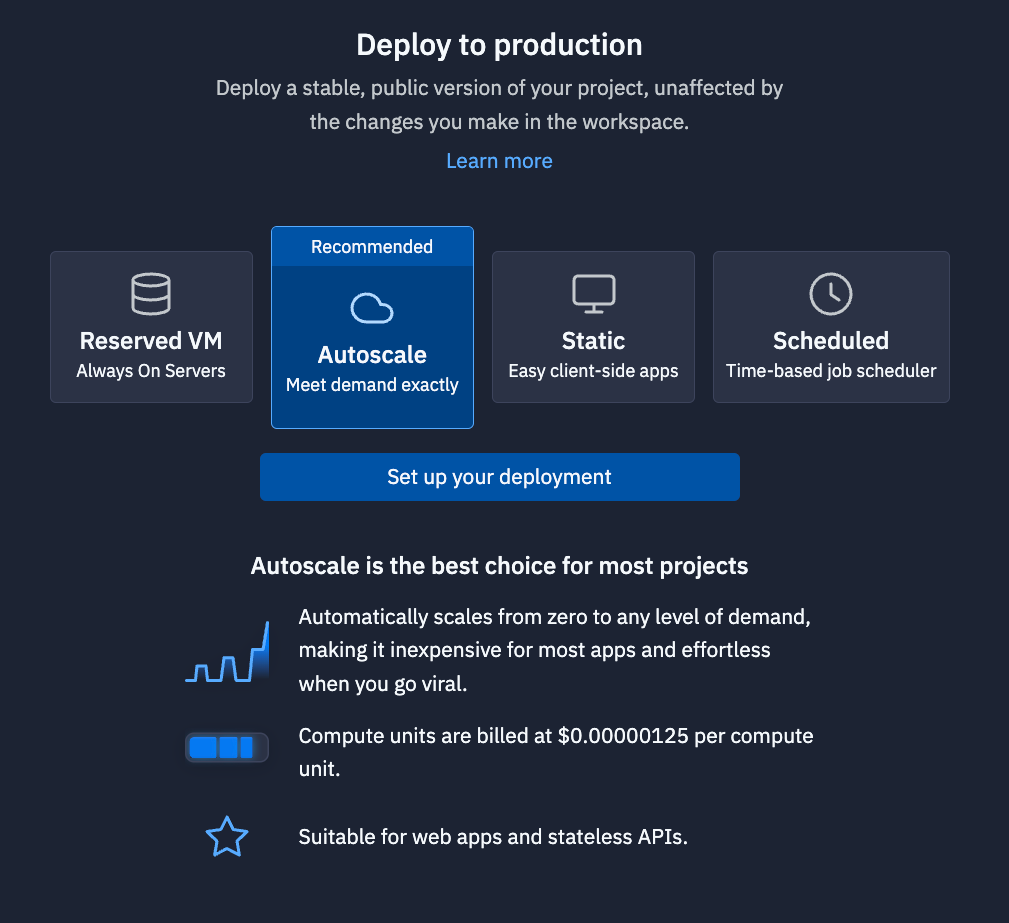
The deployments pane will emerge. For this deployment, we recommend “Autoscale.” Autoscale deployments will scale to zero when it is not used, so you will not be billed for resources. It will, however, scale up if your application goes viral, so your website does not go down.
Click “Set up your deployment.” Choose your configurations. The defaults are probably fine. Customize your domain if you would like. Then deploy your project. After a few minutes, you will receive a replit.app domain that you can share with people.
What's Next #
Share your application with Replit on socials. We would love to share it. Otherwise, check out our other guides on the guides homepage.