Deploy a GIF Conversion App on Replit

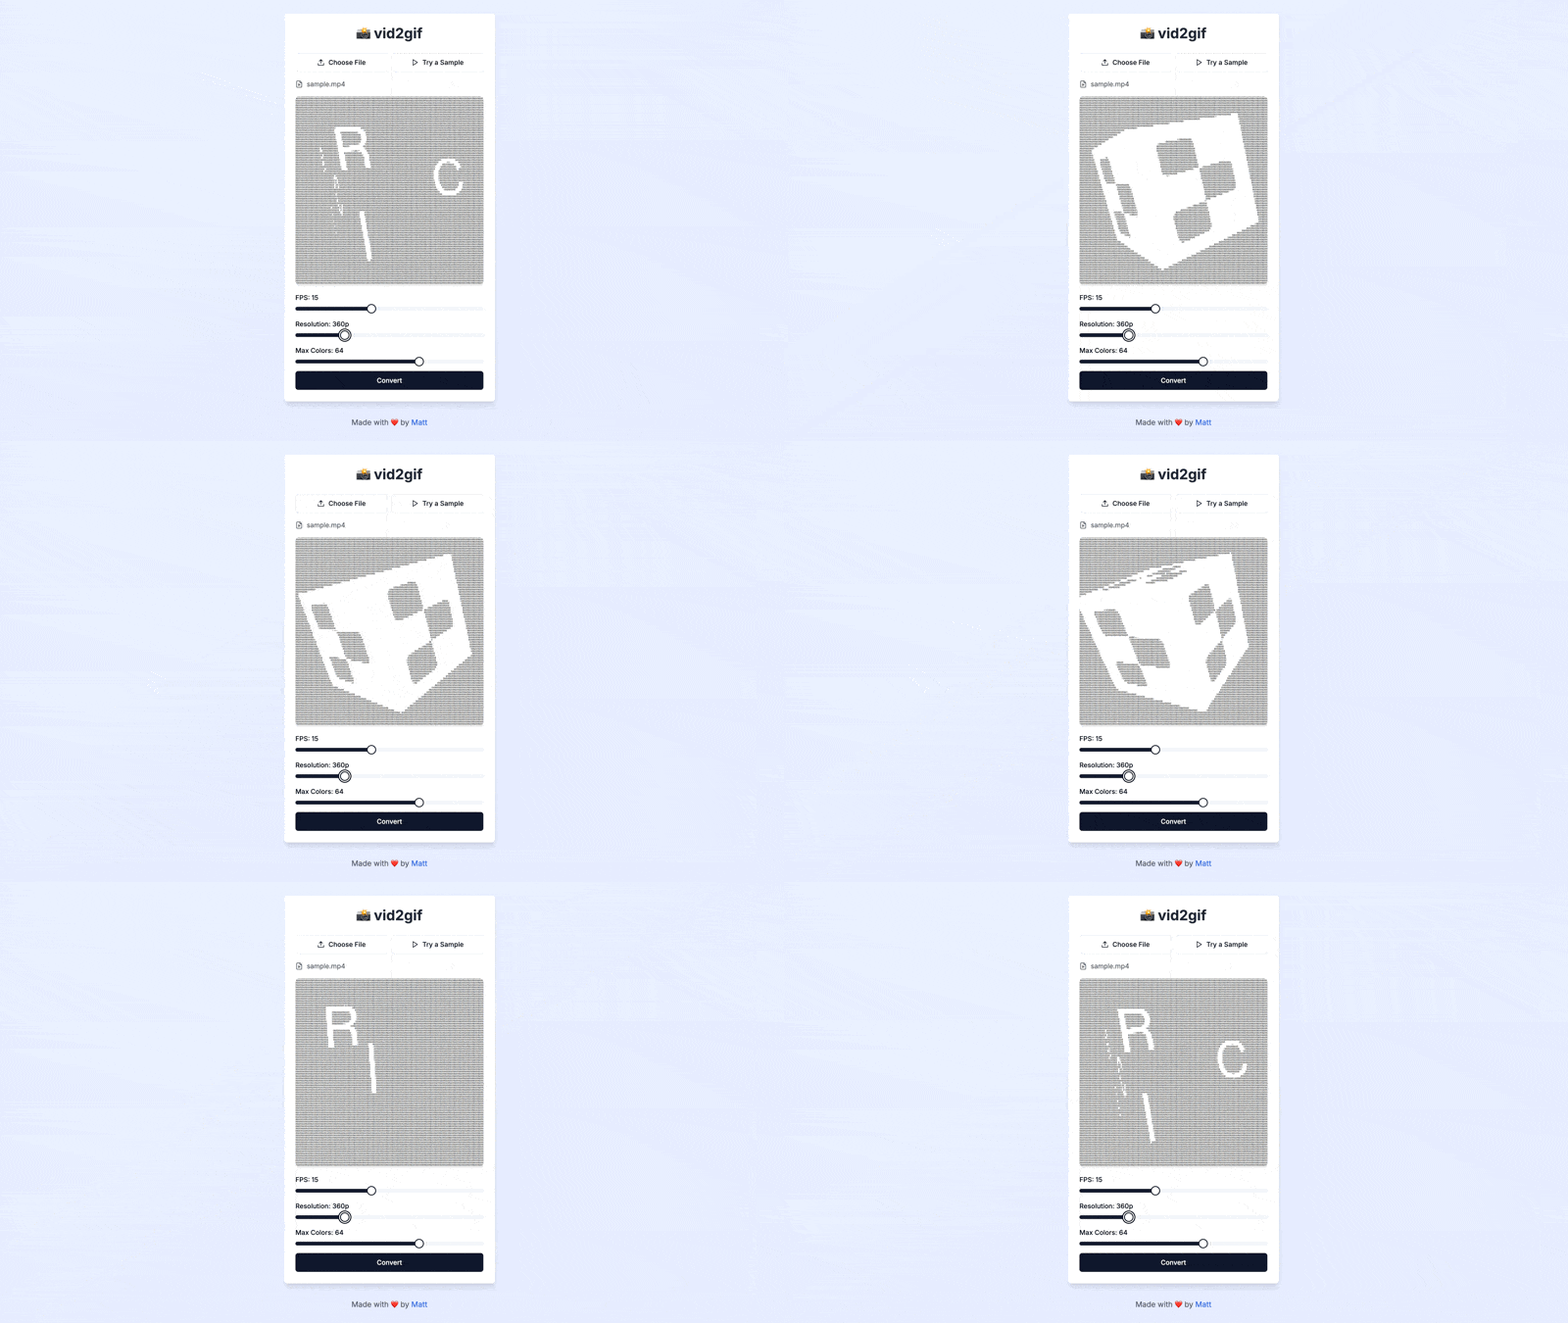
More of a visual learner? We also hosted a livestream on building + deploying the same app with Cursor! Watch along here or read on for the template and deployment instructions!
Introduction #
In this guide, we'll show you how to build and deploy your own GIF conversion tool using Replit. You can visit the live version here:
This tutorial takes a unique approach. We'll start by introducing the tool and explaining how to deploy it on your network. Then, we'll dive into the app's architecture, our development process, and how you can create similar useful tools for our team.
Forking your own app #
"Forking" a Repl creates a copy in your own environment. We've prepared a template to kickstart your project.
- First, navigate to the Repl's cover page and click "Fork." You might need to log in
- You'll enter the Replit Workspace, which resembles a typical code editor. This cloud-based environment allows you to edit and run code seamlessly, with all operations executed remotely.
- Think of a Repl as a virtual environment where code runs remotely. This means you don't need to worry about installing languages or configuring packages yourself. Replit simplifies the package management process. In this Repl, for instance, all the necessary languages and packages are pre-installed and configured for you.
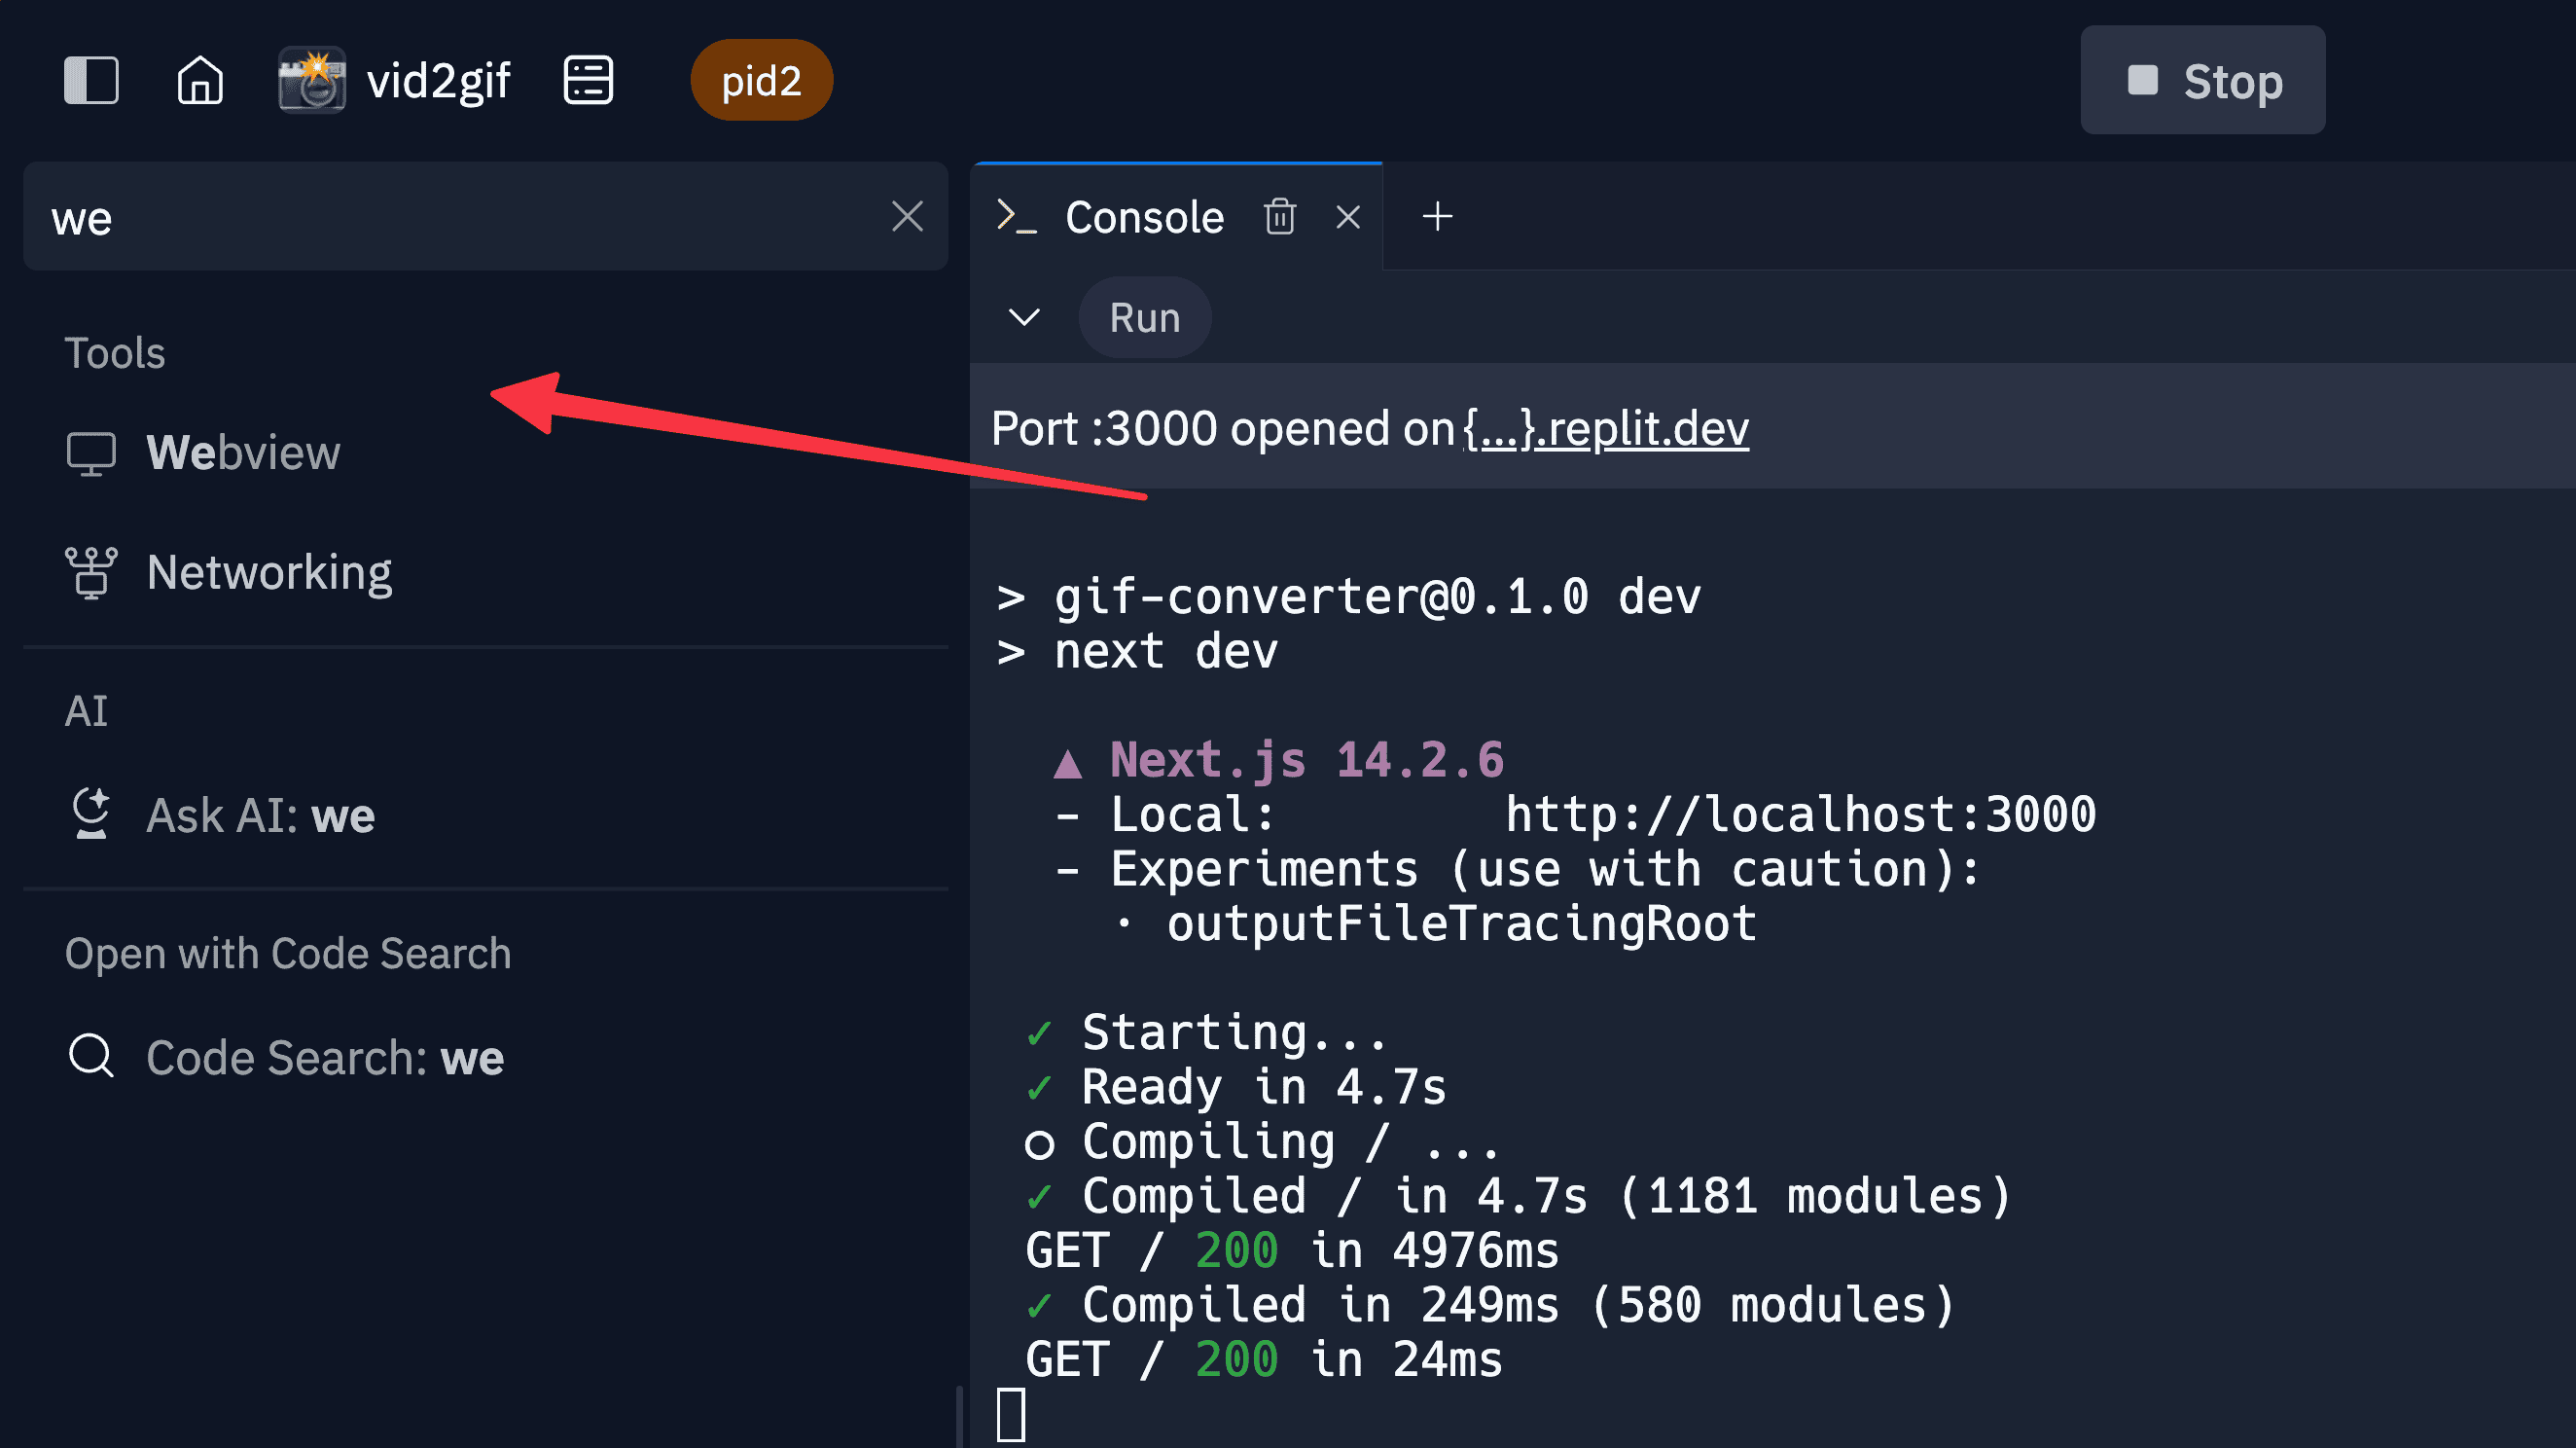
- Next, click the "Run" button. You'll see some output and a new "Webview" pane should appear. If it doesn't, search for "Webview" or click the plus icon next to an existing tab.
- Give the app a try! Click the "Use Sample" button to convert a pre-cached MP4. Behind the scenes, we're calling a route in our application that executes a command to modify the GIF based on your selections. You can find this in app/api/convert/route.ts.
Deploying an app #
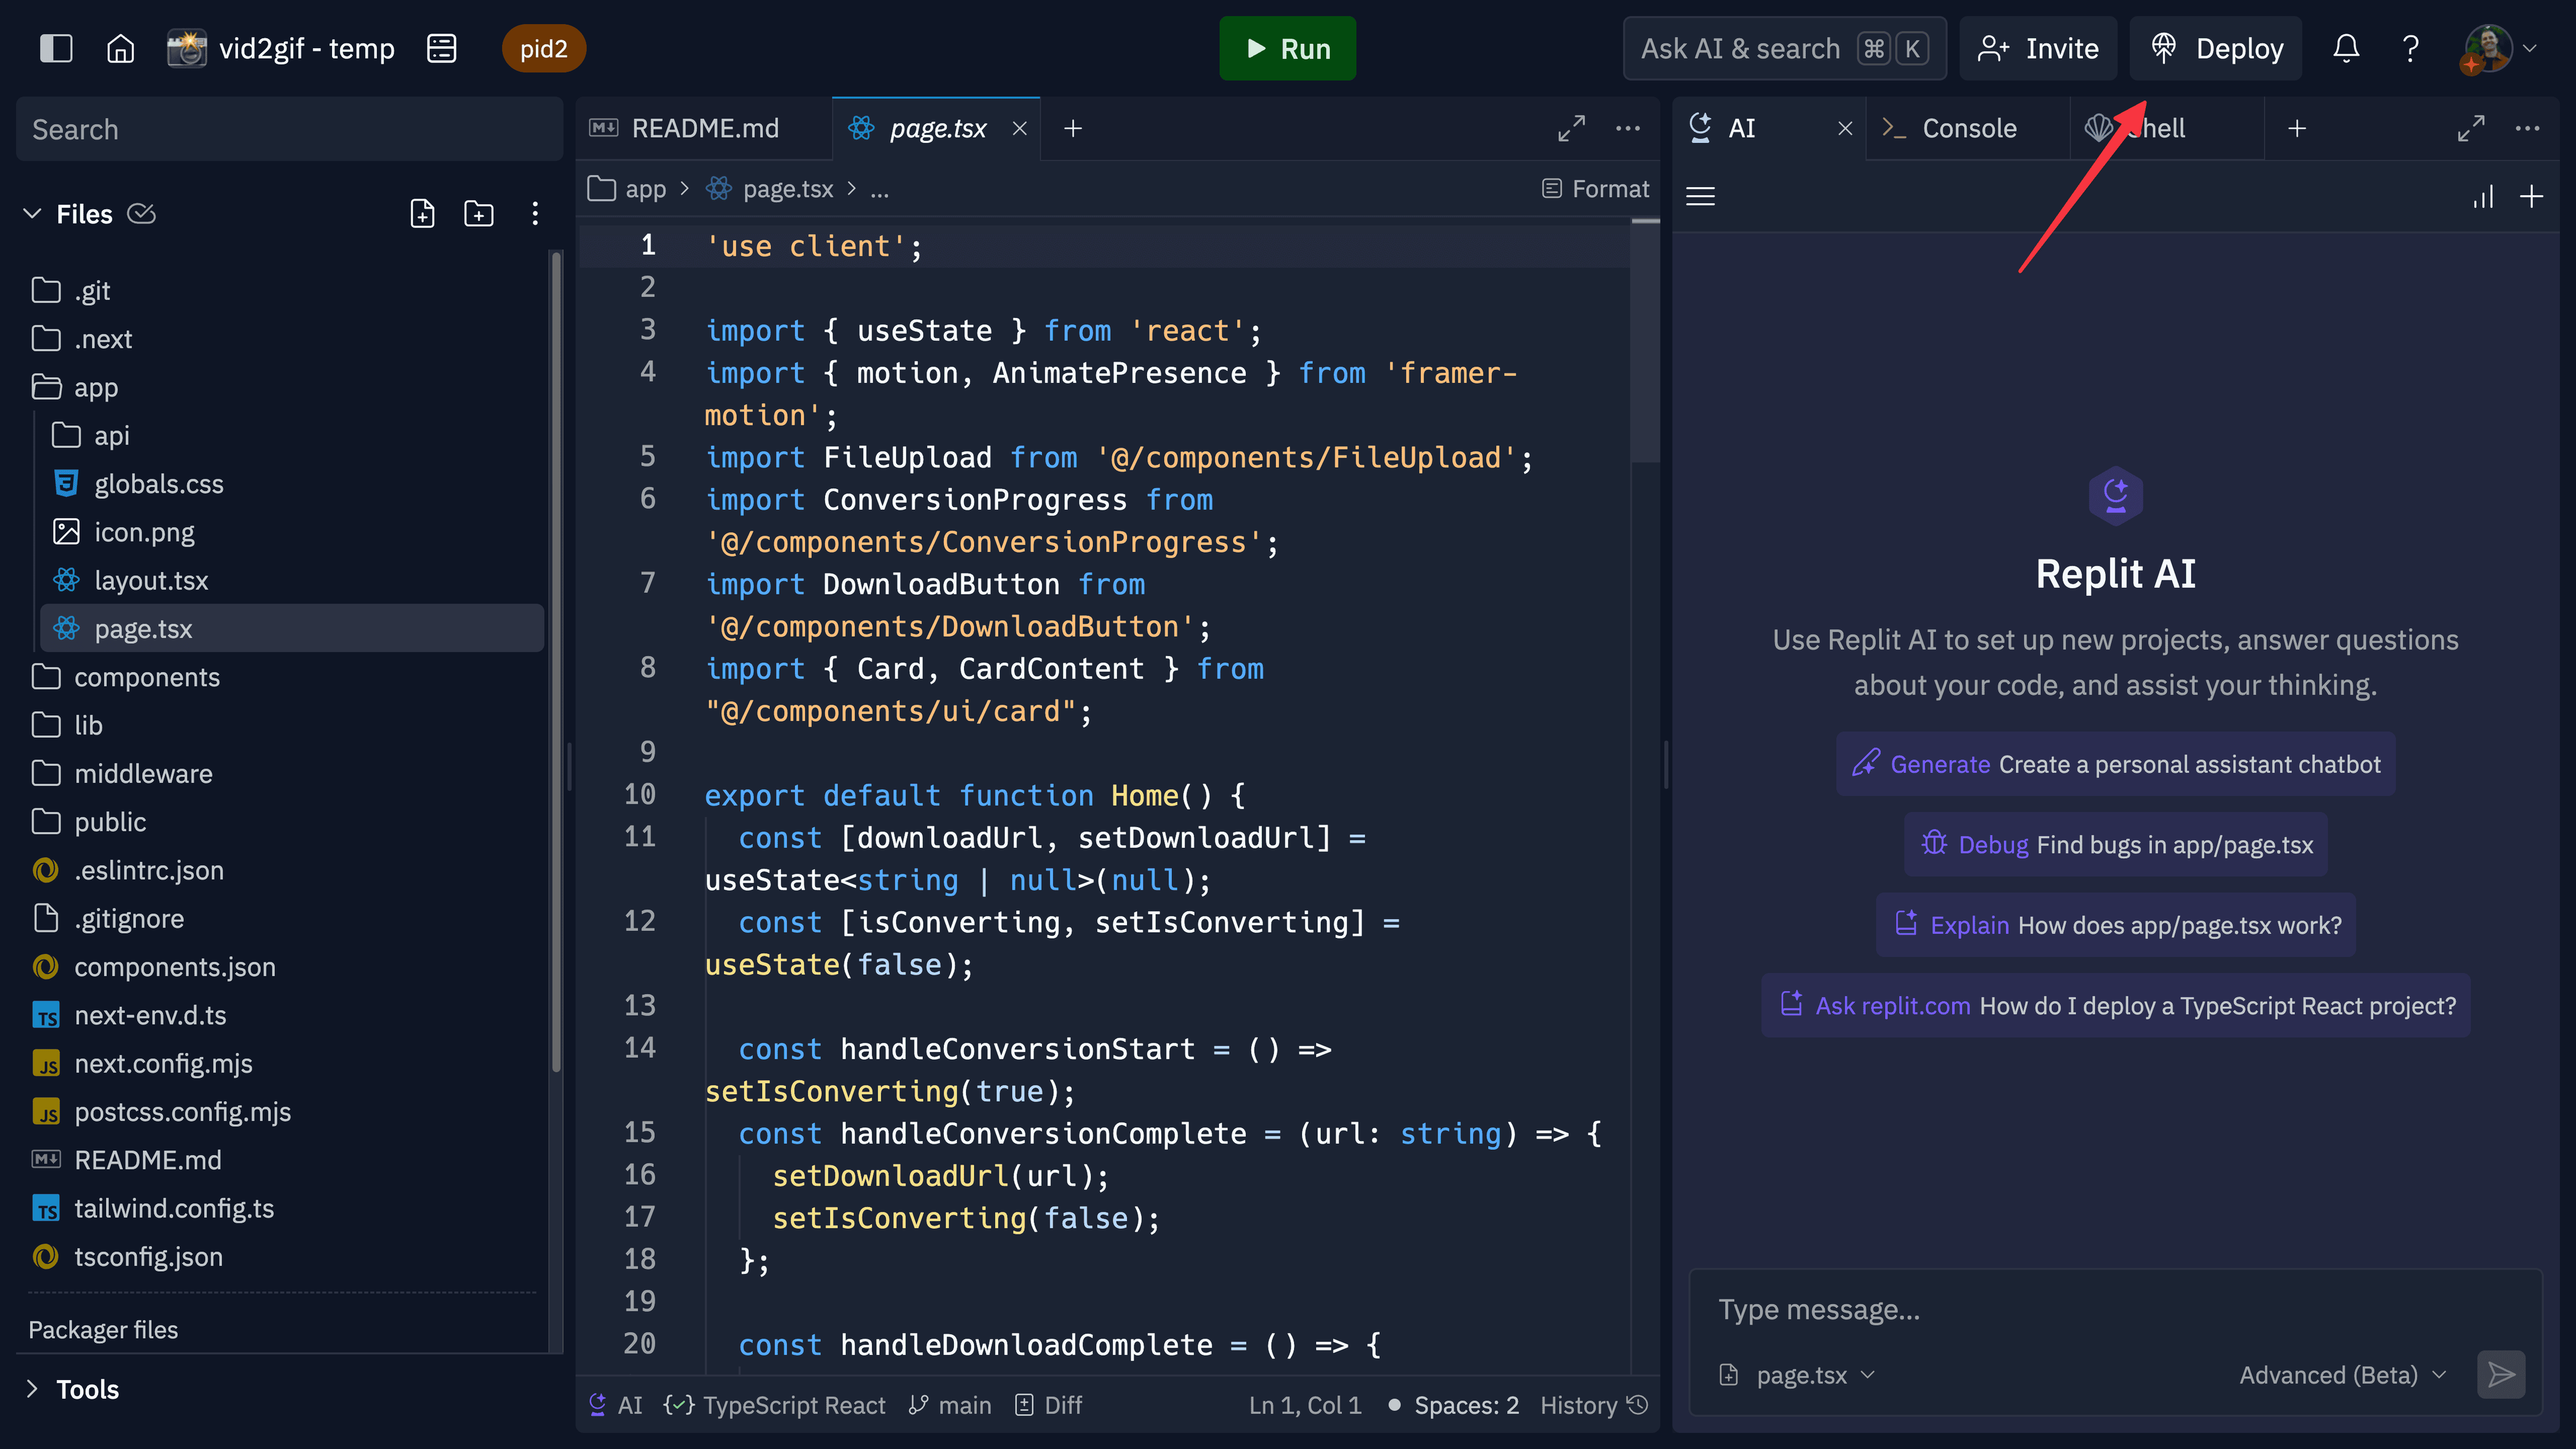
- Now, let's deploy the app. Click the "Deploy" button.
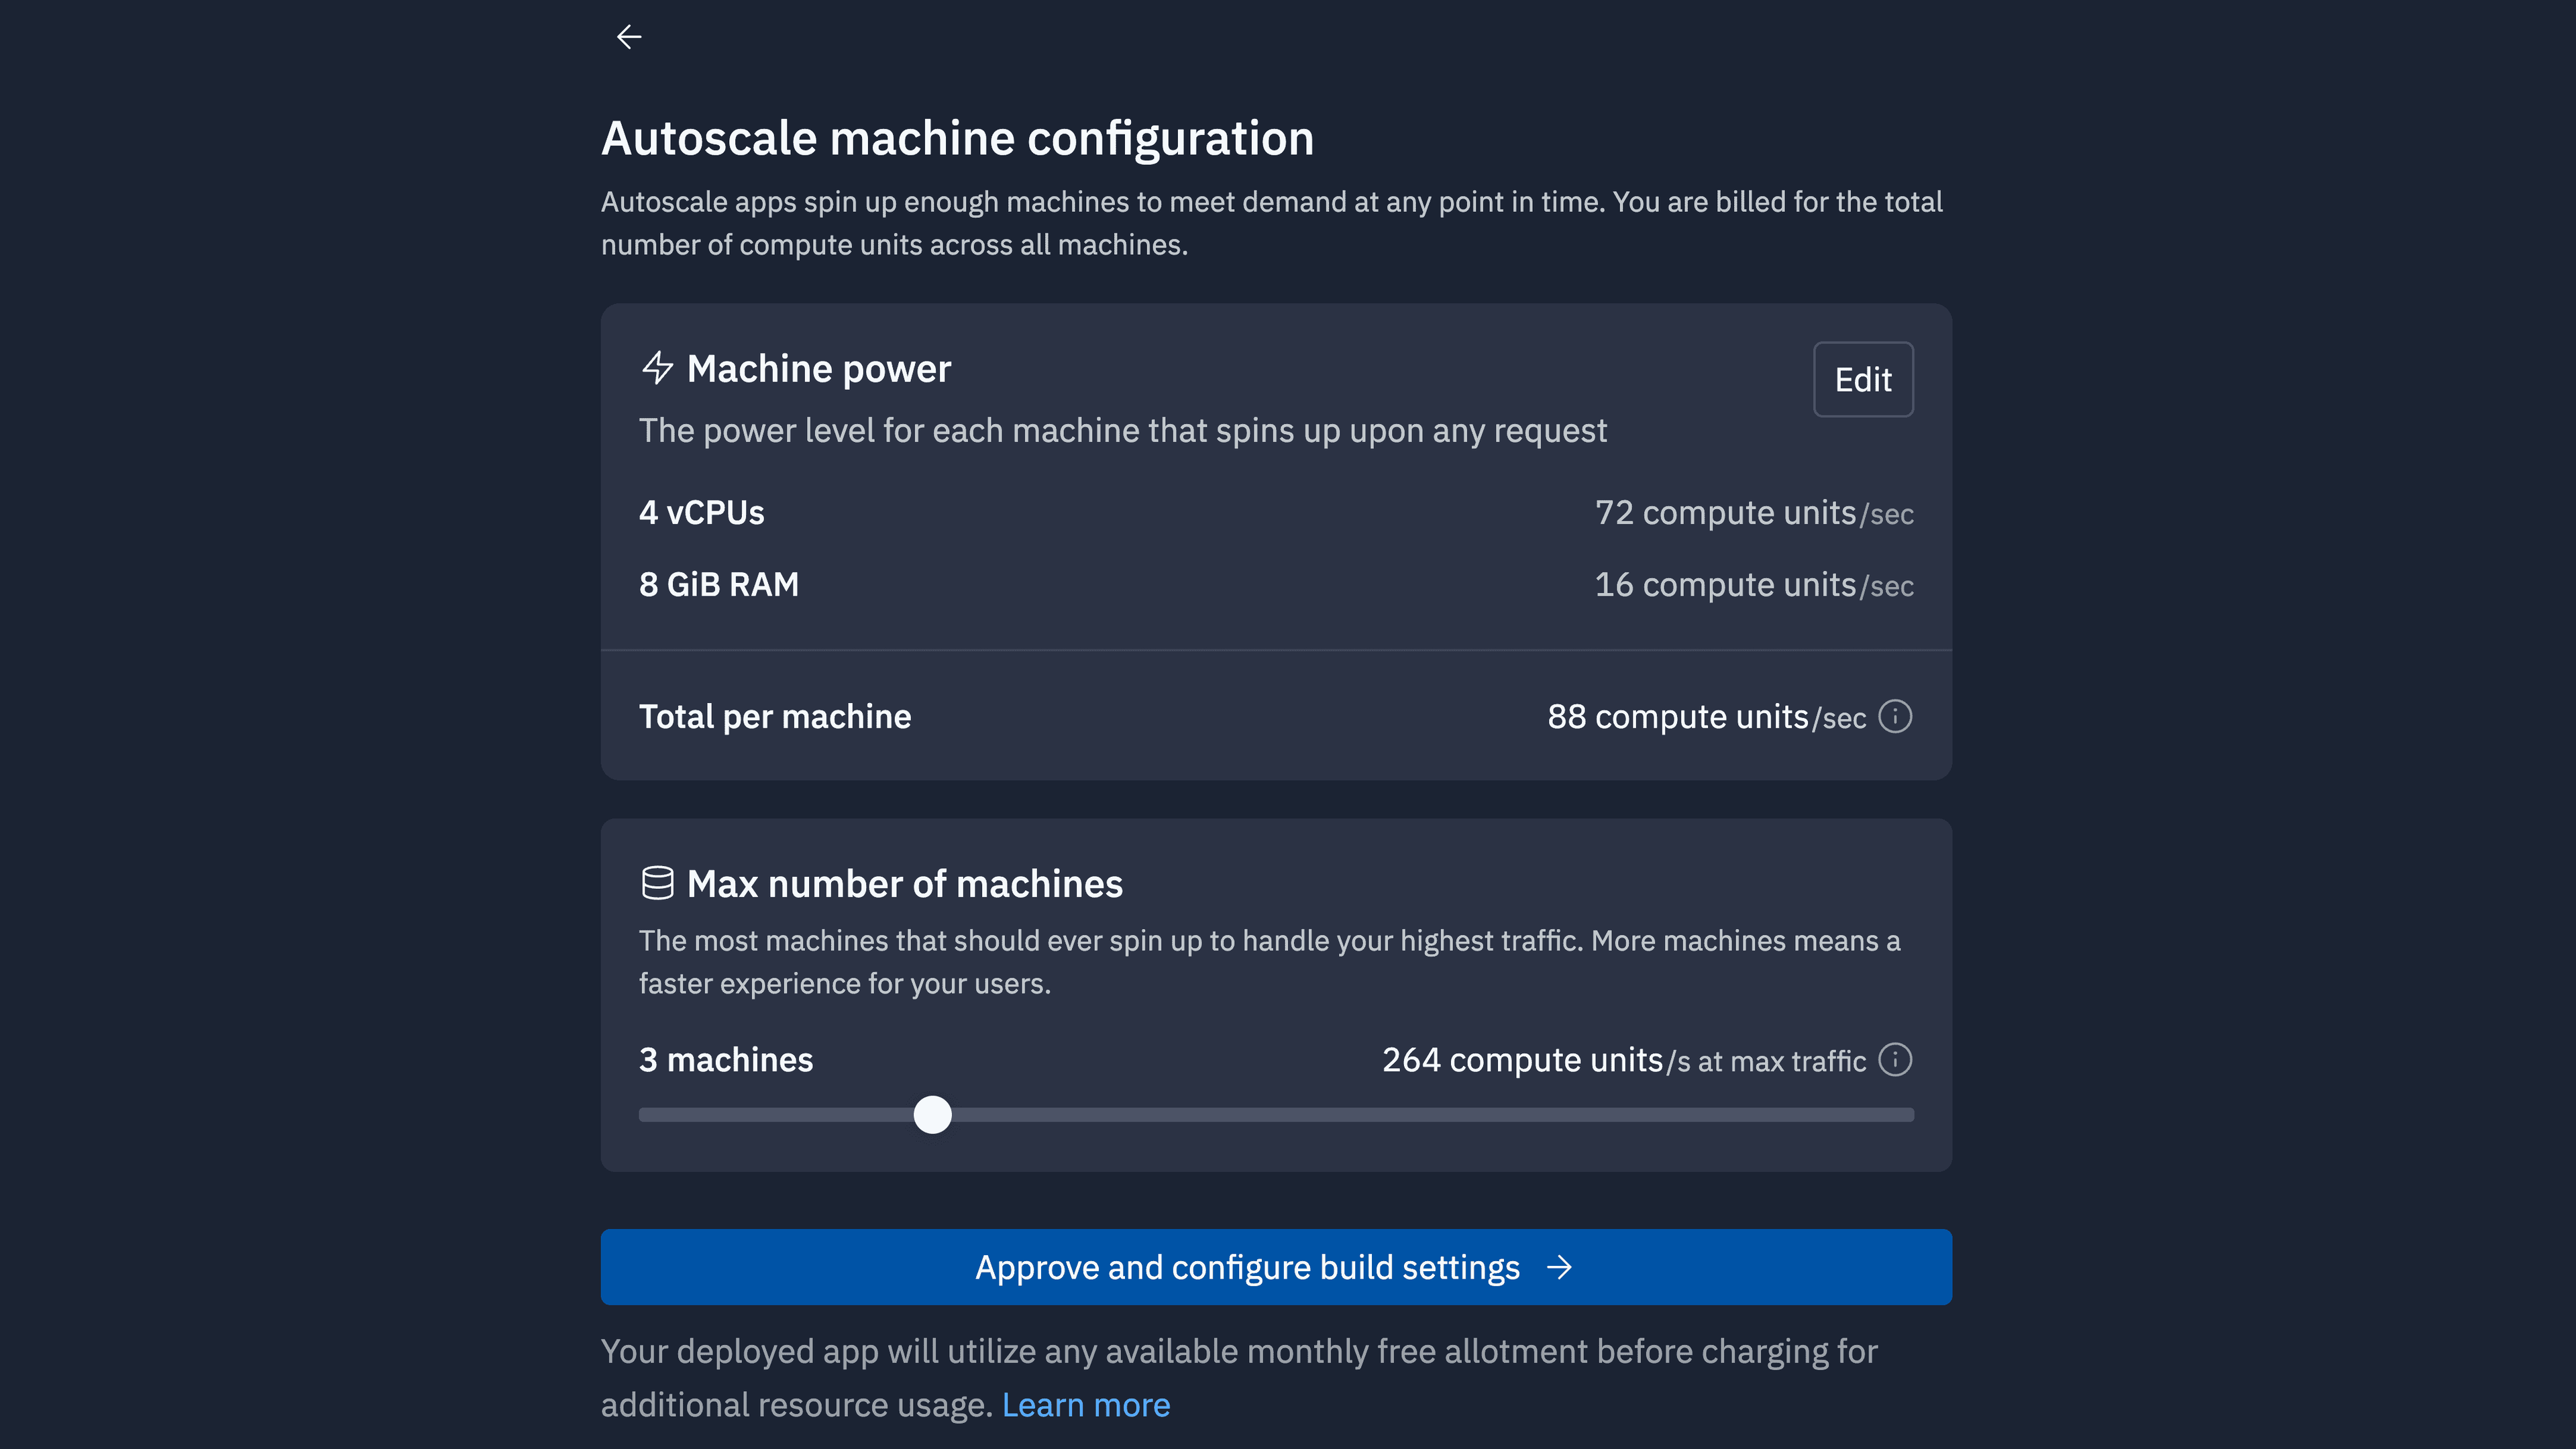
- For this app, we'll use an Autoscale deployment. Autoscale apps dynamically adjust to meet demand, optimizing costs while ensuring capacity for multiple users. Click "Autoscale".
- You can use the default settings or customize the machine power and number by clicking "Edit" and adjusting the slider. Then click "Approve and configure build settings".
- Enter a domain name for your deployment and click "Deploy". We'll handle the rest.
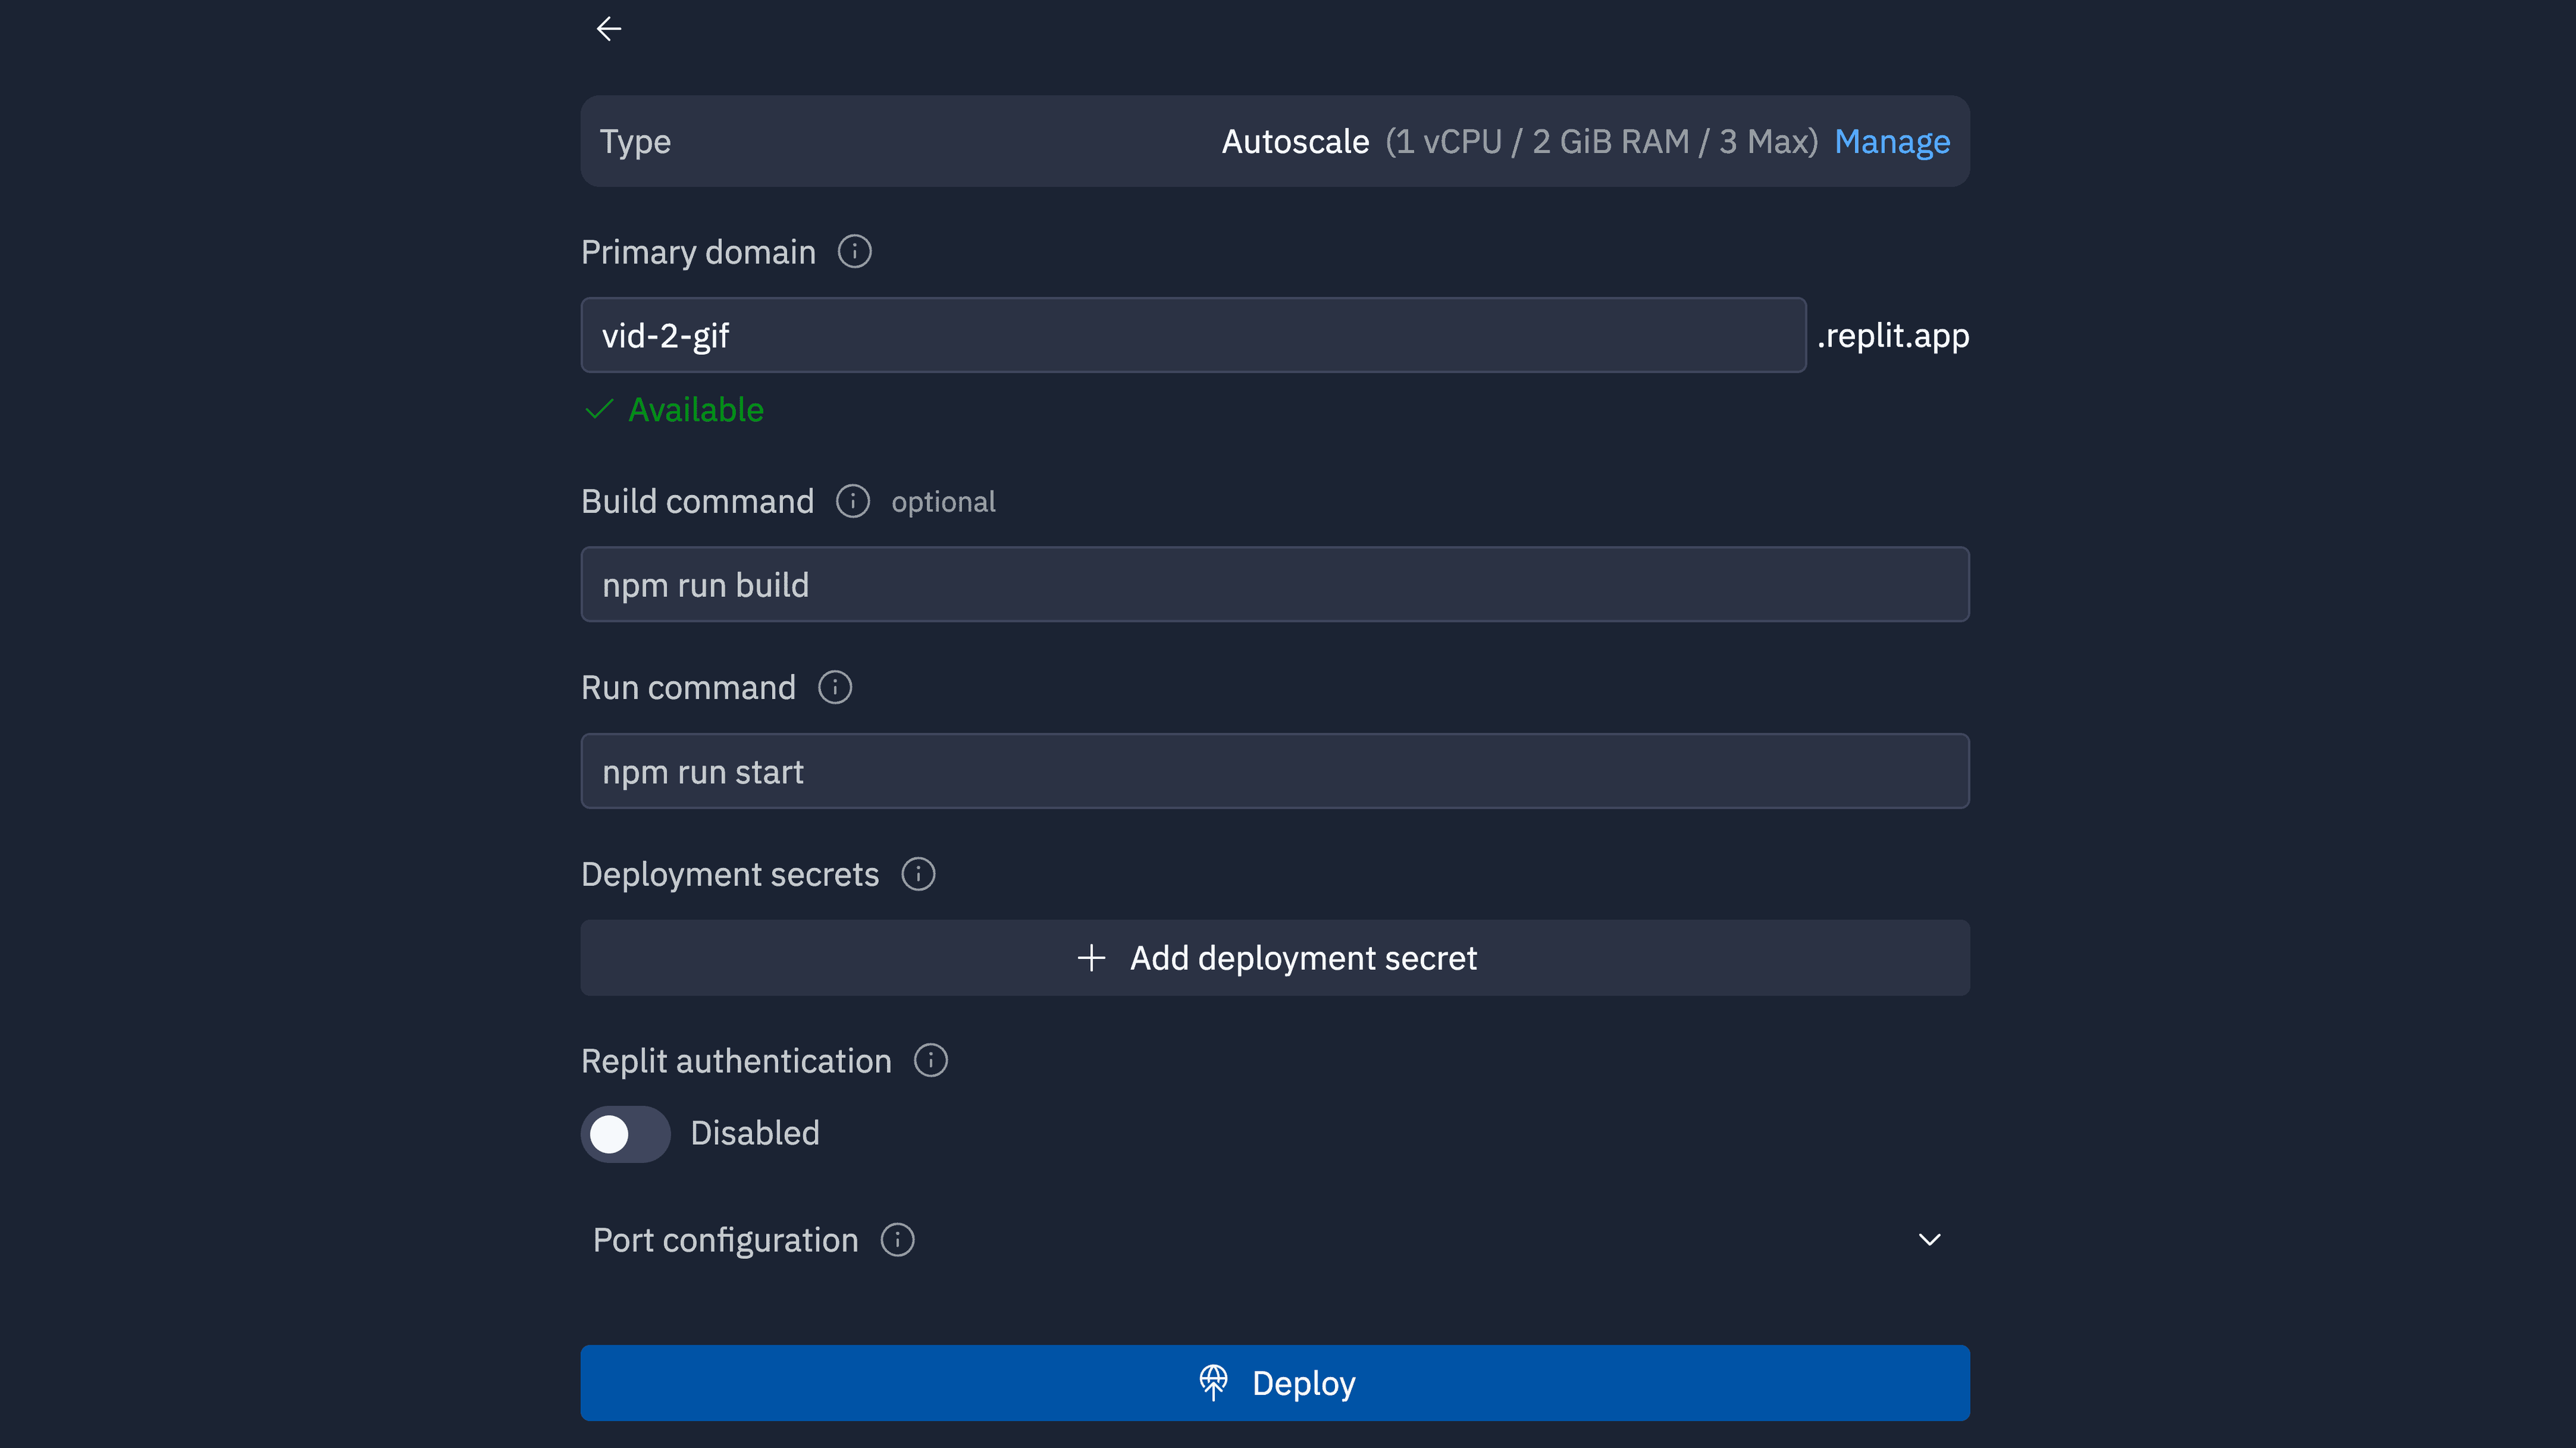
- After a few minutes, you're done! Your app will be live at your chosen domain.
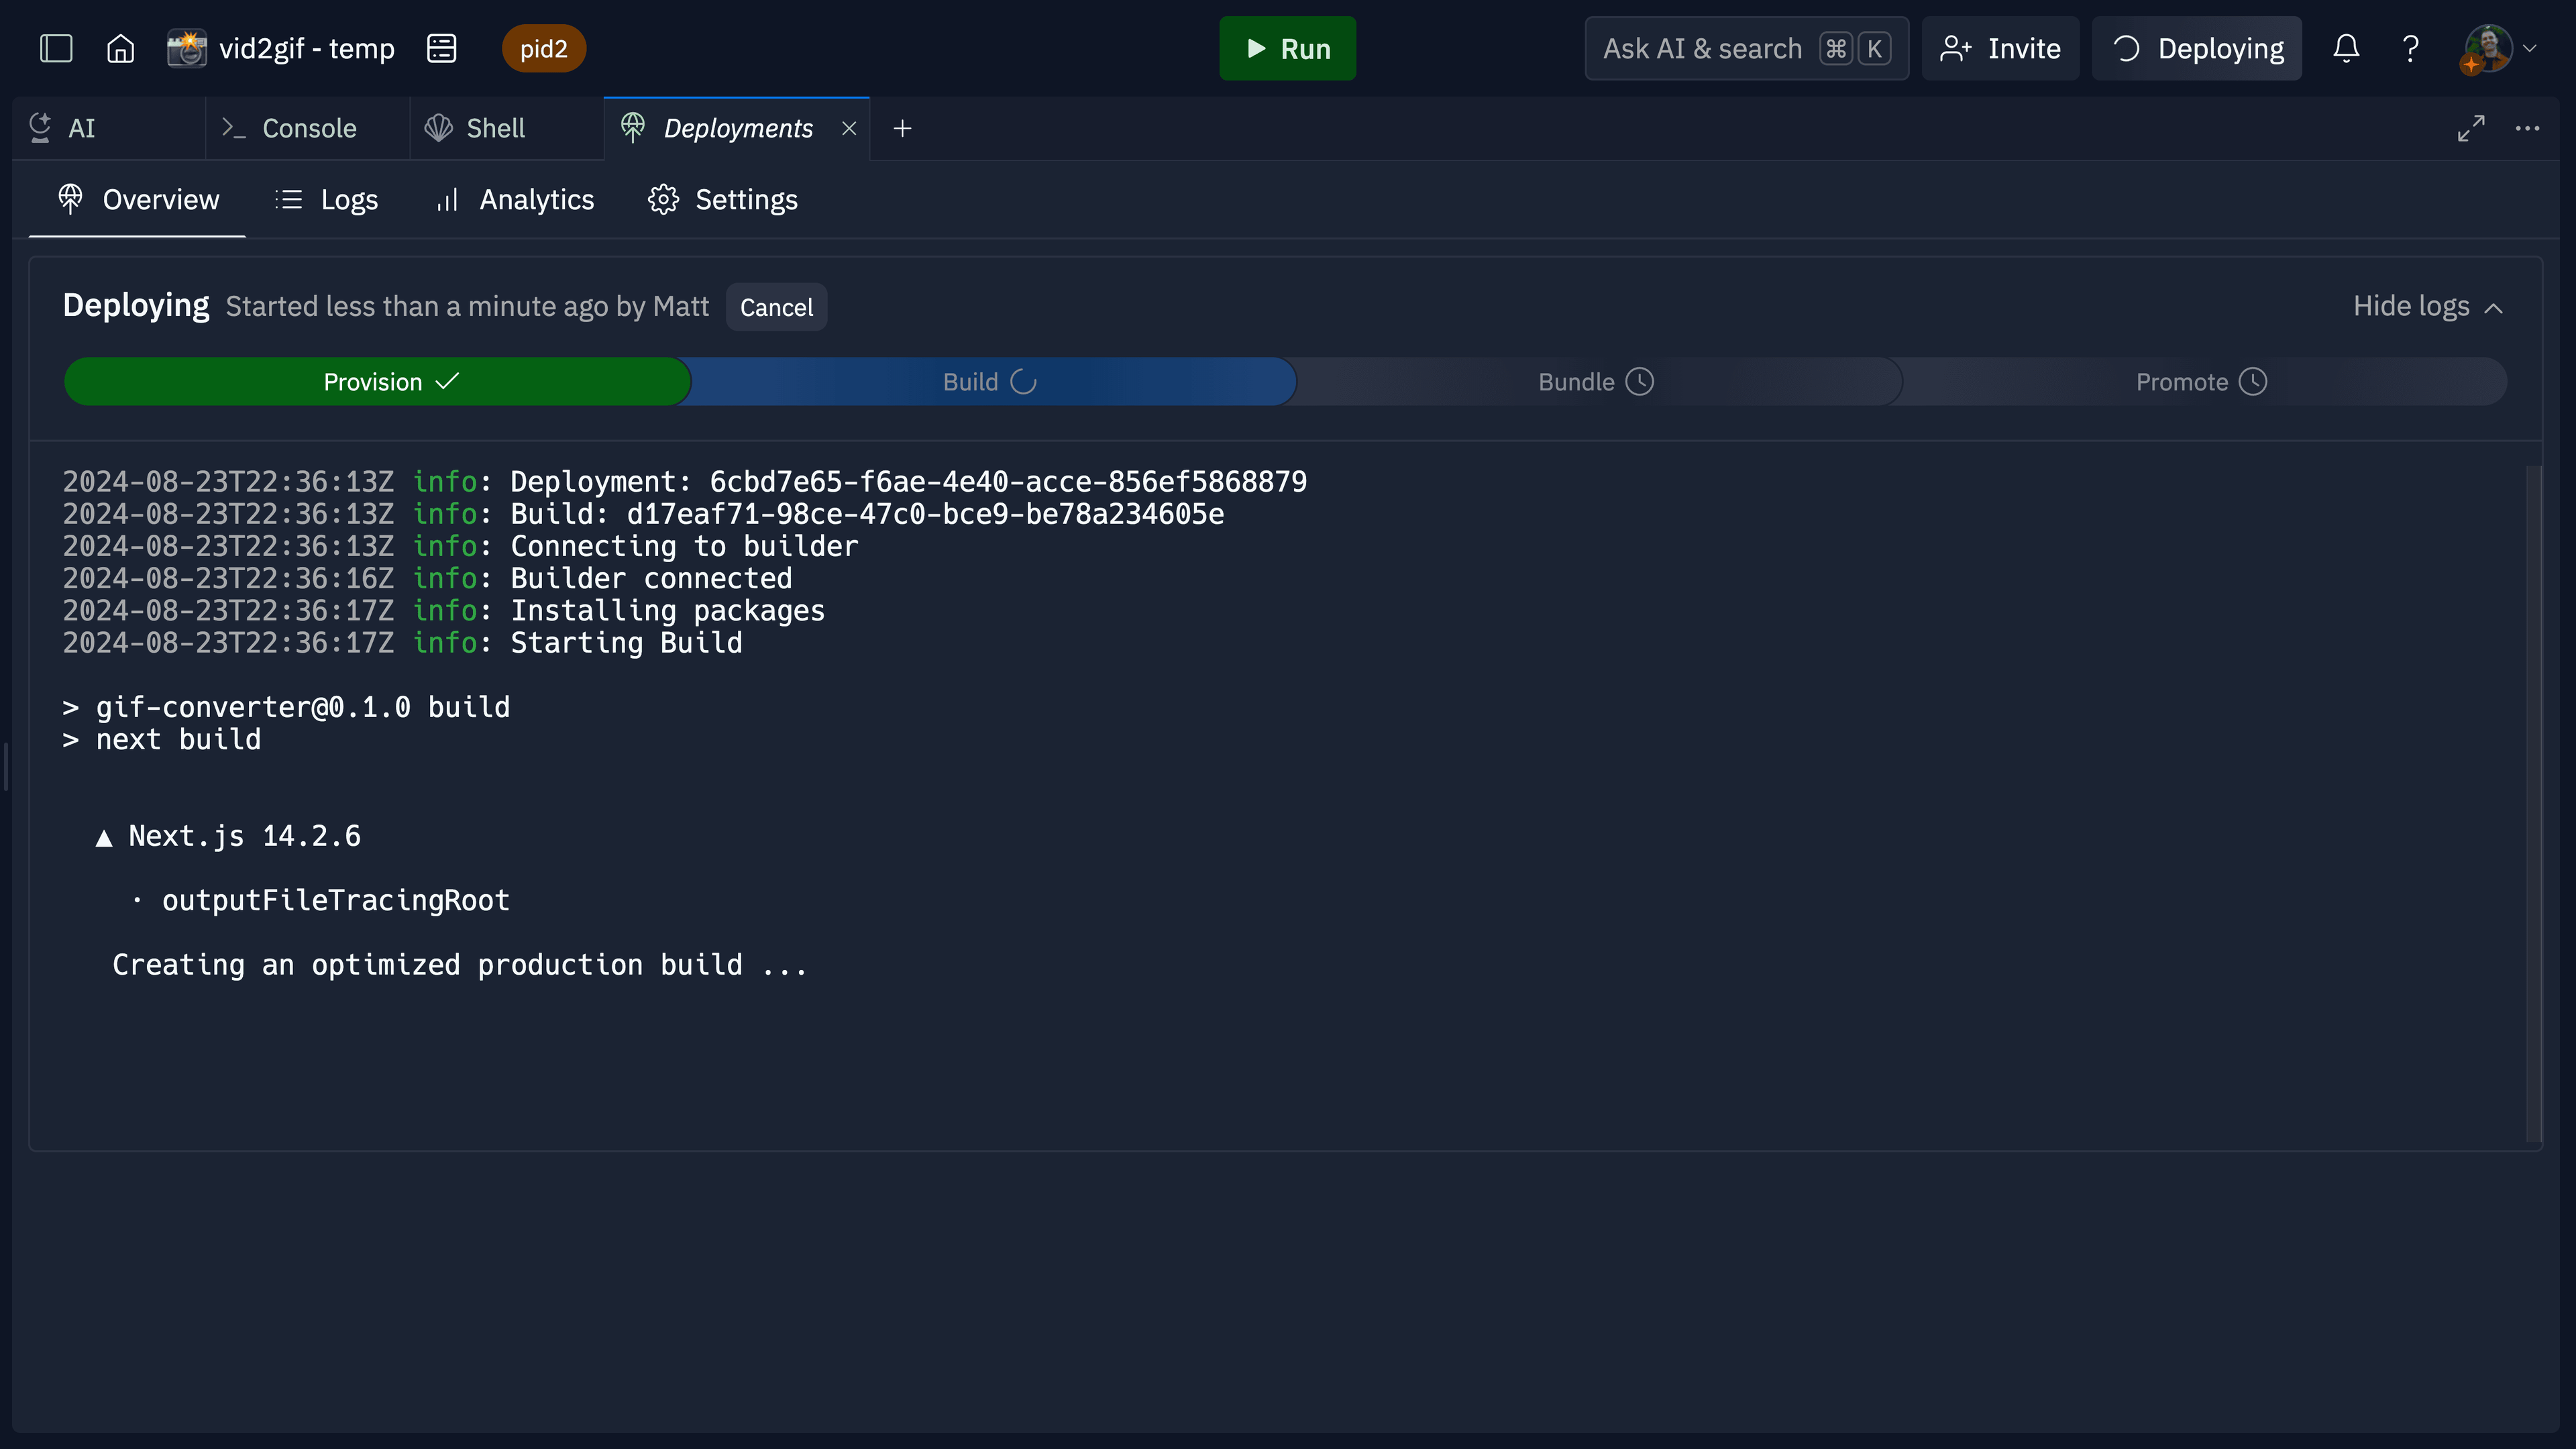
What just happened #
You've built and deployed a NextJS app that converts MP4s to GIFs using ffmpeg. We preconfigured ffmpeg in the Repl for you using the replit.nix file.
To view this file, click the three dots at the top of the left sidebar and select "show hidden files".
We built this entire app using Replit AI within the editor, powered by Claude Sonnet 3.5. We began with:
npx create-next-app@latest [project-name] [options]
Then we prompted Claude for the remaining functionality. This approach makes it easy to add or extend features using AI.
Simply open the AI pane and ask a question or give a command, like "tell me about this app" or "add a new button that does [XYZ]".
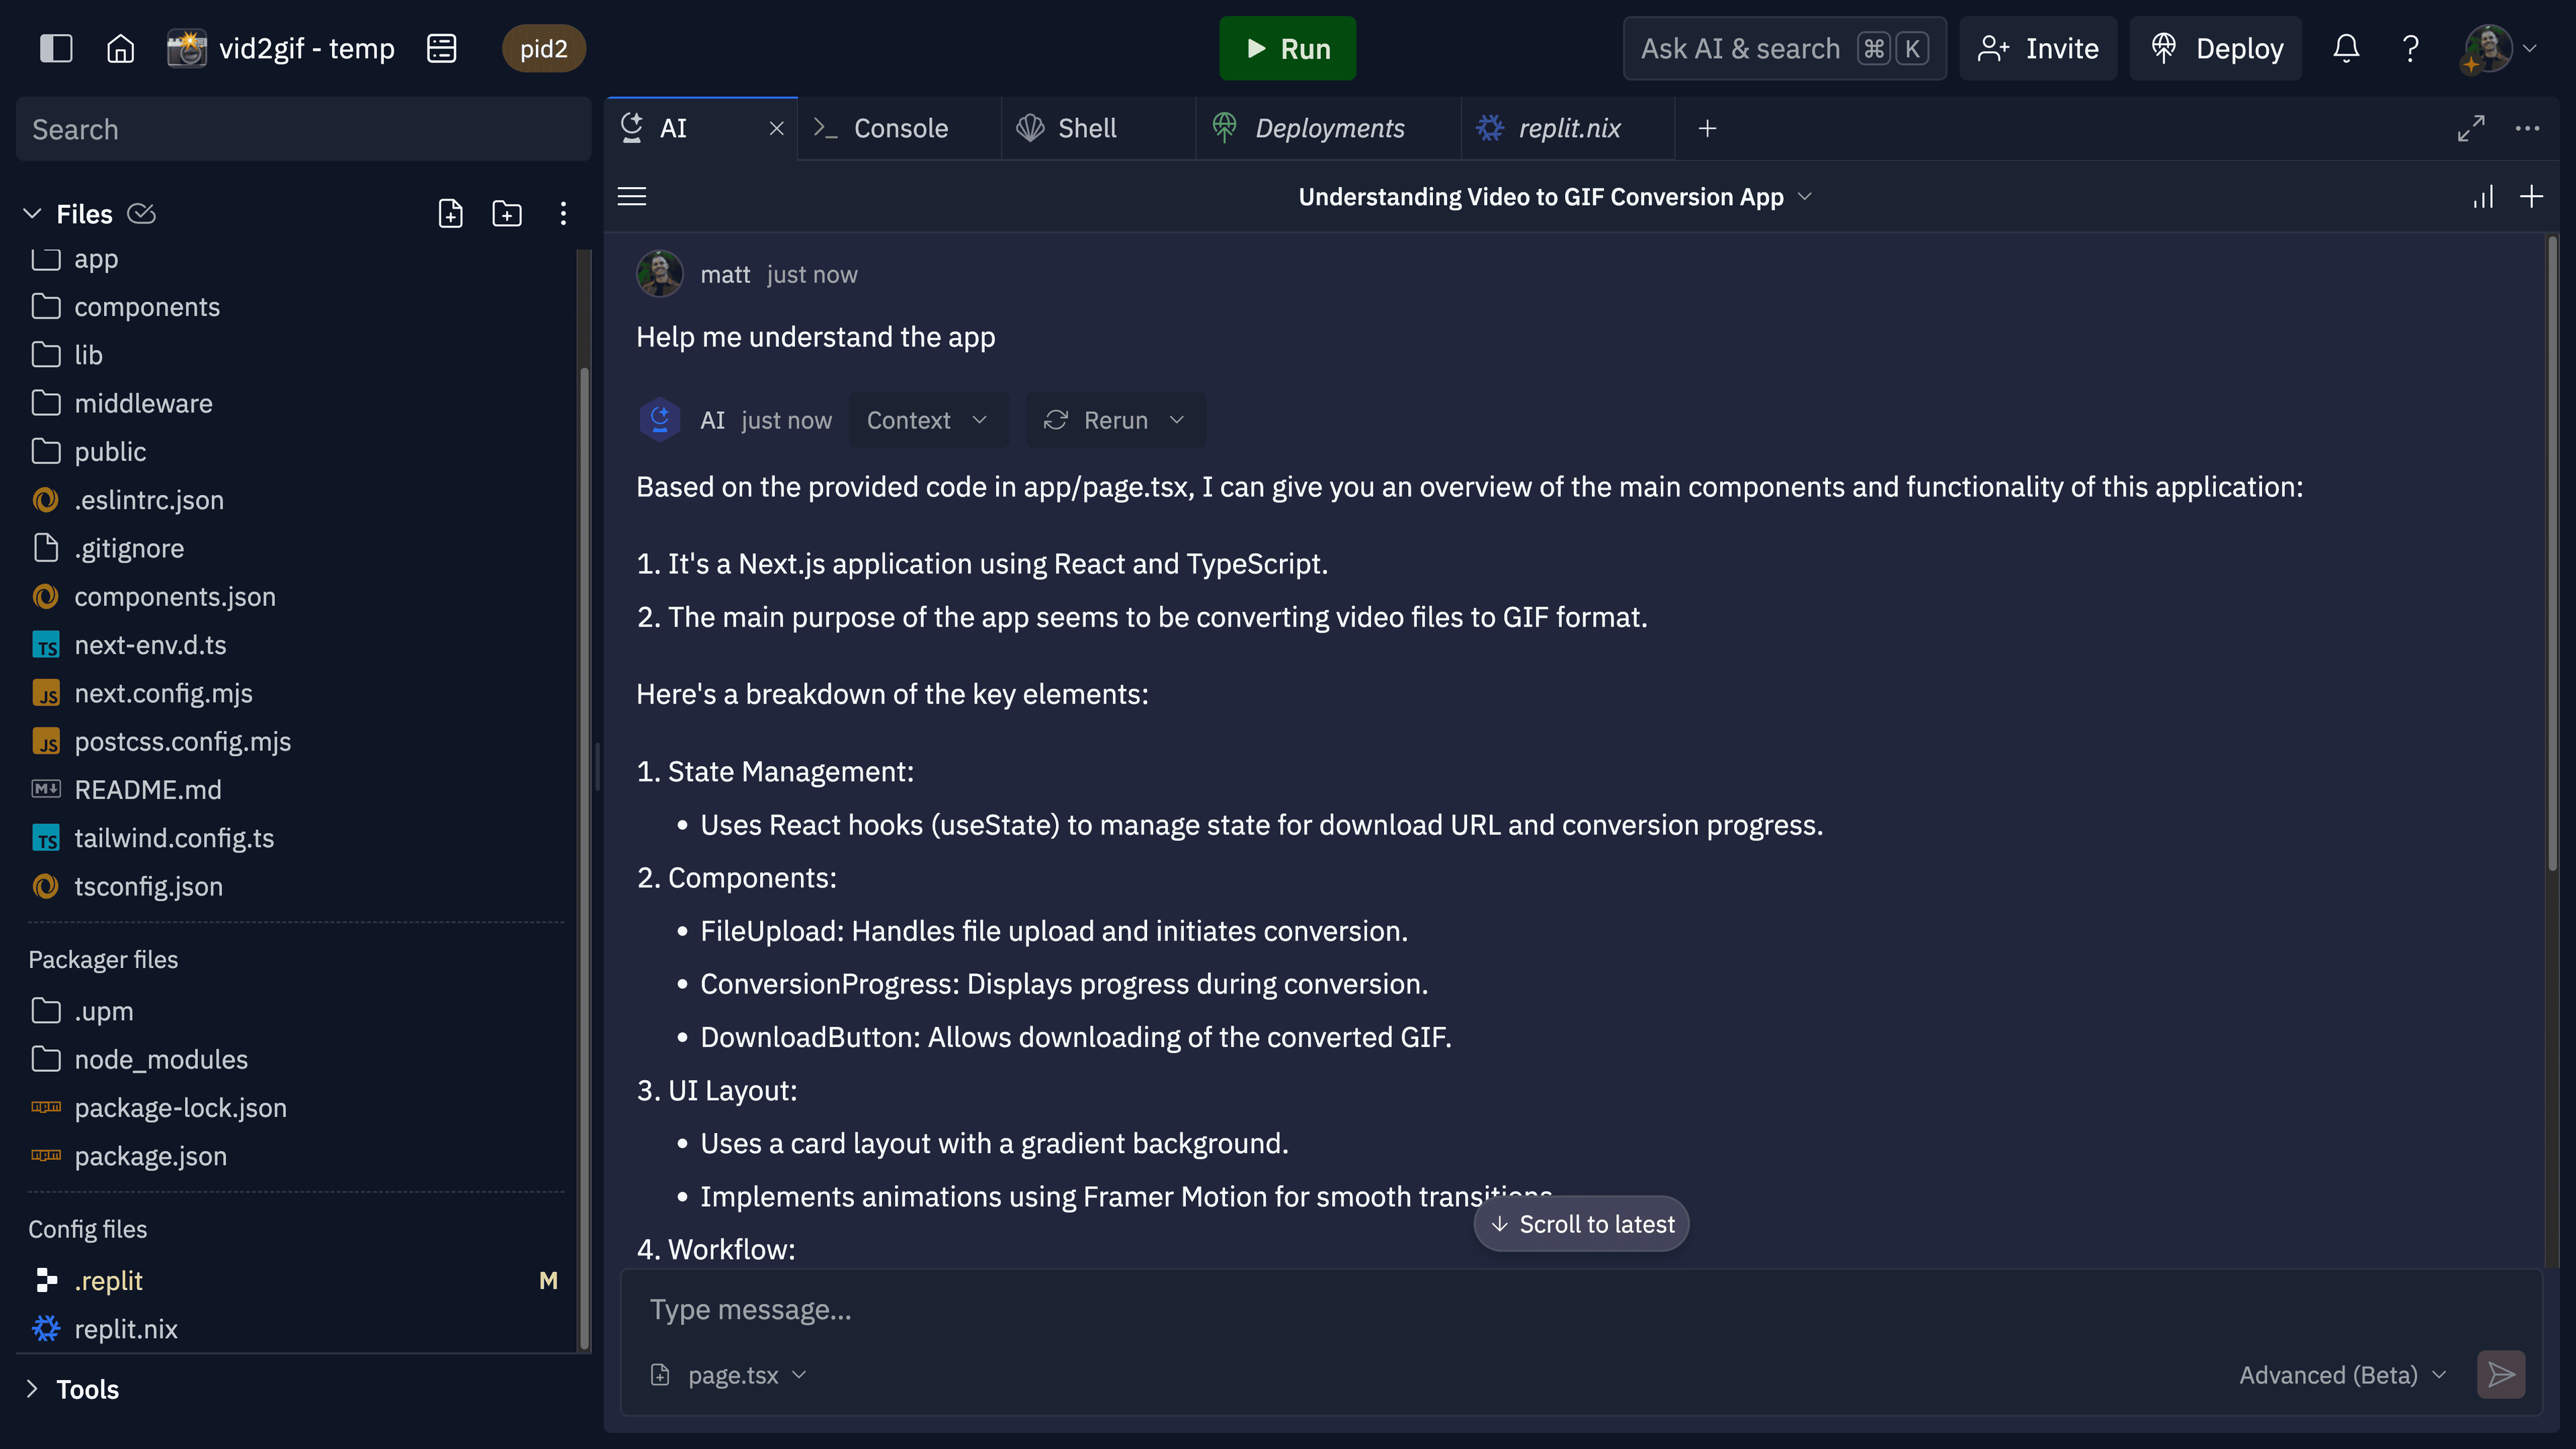
With Replit Deployments, you can launch your apps in just minutes. We focused on the framework (NextJS) and core functionality. Our prompting sequence was:
- Configuring a NextJS app
- Setting up a landing page
- Building components and a backend with core functionality
We then refined by:
- Improving the UI and styling
- Optimizing conversion functionality (routes)
- Fixing deployment bugs
When building with AI, start with foundations and frameworks. This initial investment pays off. For instance, while developing this app, we learned a lot about NextJS by—you guessed it—asking AI how NextJS works.
This approach represents a shift from traditional coding methods. By embracing these new tools, we can accelerate both learning and production.

